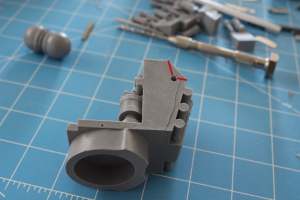
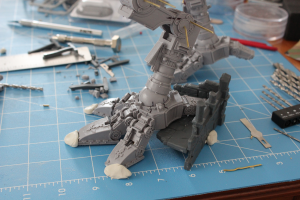
Been a while since I’ve updated; there have been a lot of happenings around here, and unfortunately, very few of them Titan-related.
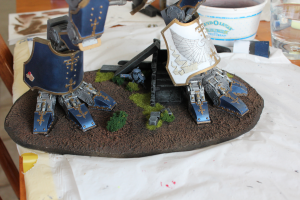
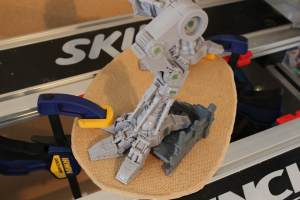
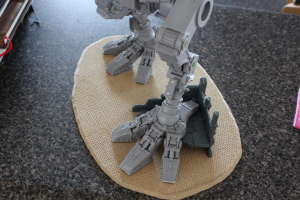
It looks like I forgot to take pictures of the feet epoxying part. Fortunately, it was relatively straightforward: I just put a bunch of JB weld in the joints and around the pins, then put the toes on and made sure there was plenty of it in all the sockets, then placed the foot in its posed position, and let it sit there for 24 hours to cure. Only the left foot needed epoxying, the right foot was already pinned and superglued with the exception of one pin on the rear toe. I just left that one upside down to cure.
Next up I epoxied the legs. Looks like I didn’t take any during pictures of this either. I seem to remember thinking something to the effect of it being straight-forward, so I didn’t need to take any pictures of it. That’s irritating, because there were a lot of those situations in everyone else’s blogs that I looked at before starting my titan, and the parts that seemed straightforward to them were never straightforward to me. And it kind of defeats the purpose of this blog a bit that I did that…
I’ll try to make up for it with description. After mixing up the JB weld, I started in the knee joints; note that the piston on the rear of the thigh needs to be cut to size before you do this part. If you’ve got pins in this joint, you’re not going to be able to fit the piston up into its slot after epoxying/inserting the pins. So you need to have it measured and in place before you actually start epoxying the joints. I had originally planned to use superglue for these because I could, but it occurred to me that while I was getting the rest of the joint in place the superglue would set before I was done, leaving me with a likely out-of-place and set piston. No bueno, so I just decided to use JB weld on it too, which was fine; with the way the thigh pistons are slotted, it’s not going to be going anywhere once the rest of the knee joint is posed.
Doing the actual epoxying was a fairly simple matter. Just score the inside of the joints with a sharp Xacto knife or something (provides some friction for the epoxy to grab on better) and then smear it on the inside of the joint, then repeat for the thigh piece. I also put some down into the pin holes a bit. However, I was using a toothpick, so I couldn’t get it that far down in there. After that, stick the pieces together, try to avoid epoxy-smearing, and then stick the pins into their holes. It turned out for me that the pins pushed a lot of their epoxy out the other end when I got them all the way in. I used a handy toothpick to make sure they were roughly centered in their holes, wiped excess epoxy off with a paper towel, and moved on to the next joint. Repeat for each joint on each leg. Once that was done, I stuck them in their respective feet and left them to cure for 24 hours. Note that the ankle joints were not epoxied yet at this point.
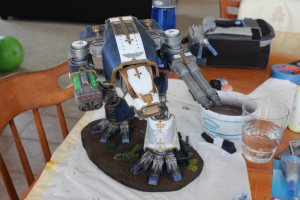
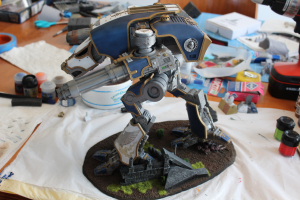
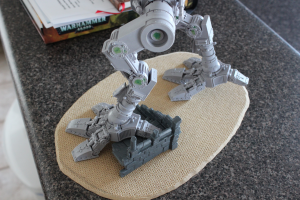
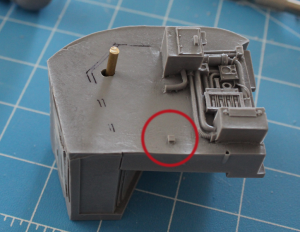
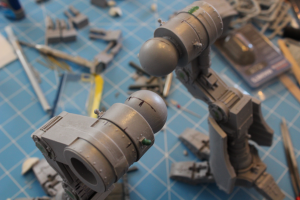
Once that was done, I did the hip joints and got them in their properly marked positions, epoxied and that was it. Here’s a picture post green stuffing (which happened after).
Continue Reading
