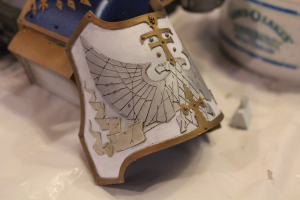
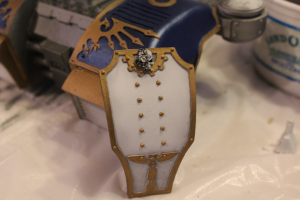
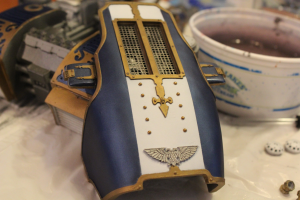
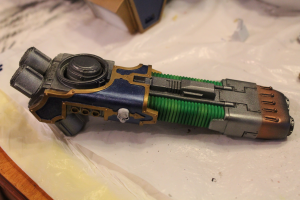
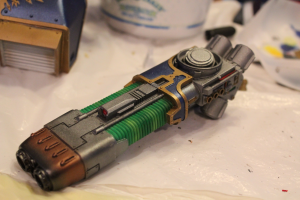
It’s been a little while since I posted, but I’ve made a lot of progress; it’s been rather slow, but relatively consistent. I started final assembly of the titan today. The legs are epoxied to the base and are curing as I write, the rest of the titan will follow suit over the course of the next few days. I have to leave 16-24 hours for drying time between each stage.
Since I started off talking about the base in the last post, I’ll lead off talking about it here as well. After doing some of the painting I demonstrated at the end of the last post, I started work on how to secure the titan to the base I had cut out. I considered epoxy, but I wasn’t sure it would be sufficient on its own; after all, it would need to pull the entire weight of the base up with it when I lifted it.
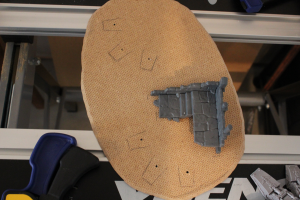
Eventually, I decided to do some screws. I could sink them into the underside of the base in such a way that it would remain flat on the bottom and still provide some additional strength. I determined to use #4 x 1/2″ flat-head wood screws. These would be short enough that they wouldn’t stick up through the top of the toes, but also long enough to provide sufficient pinning strength. I started out by setting the feet onto the base in the position I wanted them, then penciled some outlines of where the toes and the ruins went. It wasn’t perfect, but it was decent.
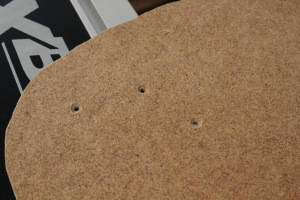
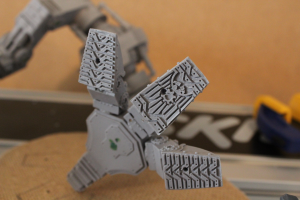
After that, I drilled out the holes in the base through my penciled markings (first picture), then flipped the base over and drilled out a space for the screw head to sink into with a much larger bit. I’m not certain, since it’s been a couple of months since I did this, but I believe I used a 1/4″ drill bit to make the head sinks. The holes themselves were drilled out with a bit just barely smaller than the diameter of the threads on the screws. I wanted the screws to have a little bit of grab, but I also needed to be able to get them in and out for fit testing a fair number of times, and I didn’t want them tearing the resin or base up. That done, and tested to make sure it sat flat, I replaced the feet and clamped them in place via one of the toes, then I got underneath my table with a power drill, and very awkwardly drilled out the holes into the toes. It took a lot of screw fitting and a lot of getting back under the table and trying to get the drill angle just right without knocking anything out of place. I would have used more clamps, but I could only fit the one onto the feet, and another just holding the base steady. That, and I didn’t want to clamp down too hard for fear of marring details on the toes.
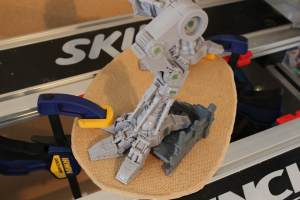
A while later, this is what I ended up with:
Success!
Now, on to some in progress painting pictures. Much of this was airbrushed, as I discussed in my last post; the masking medium was an enormous help.
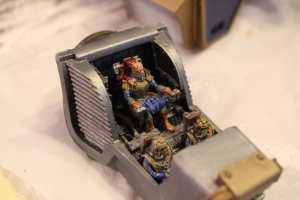
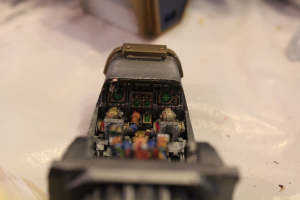
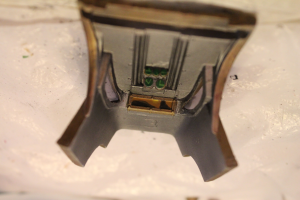
I spent probably 8 or 10 hours on the interior of the head. It took me quite some time to get it all done. The details weren’t so much difficult as time-consuming. The big thing was to go slow and sometimes use a toothpick (like on all the dials). The cloth was relatively easy, to my surprise. I simply took a brush-full of Mordian Blue foundation paint and mixed it with 1 drop (I think?) of Vallejo’s Acrylic Medium, then brushed it straight on. It was runny enough to pool in the folds and leave the upper parts lighter.
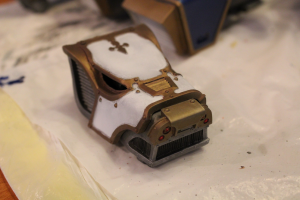
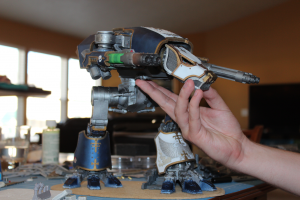
This last one I took a couple of weeks ago. The vast majority of my free time over the last month and a half has been in completing the hand-painting portion of the main body and the interior of the head. At the point this picture was taken, then interior of the main body was finished, but I still haven’t taken a picture of it. I’ll do that and get it put up when I do my final post of the completed titan. In this last picture, I have my hand there because the main body and head aren’t secured to the legs or each other yet. I have to keep my hand there or it will fall apart. The main body balances on the legs without epoxy or pinning just fine, but it doesn’t when I add the weapon arms. The legs are also unfinished, and I hadn’t done anything more with the base at this point either.
The next post will be a final wrap-up and showing off of the final result.
