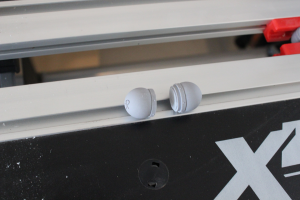
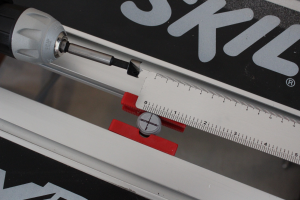
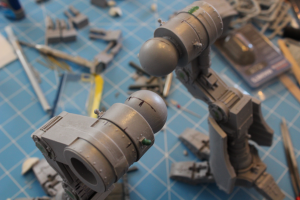
Time to do the arm magnetizing. I was both excited and terrified of this part. I’ve summarized titan construction to my friends a couple of times as a series of decisions you have to make, and some of them are very hard. They’re the type of decision that if you get it right, the model looks awesome; and if you get it wrong, you may have wasted 500 GBP.
Well, figuring out the arms ended up not quite as good as I wanted it in a couple of respects (cut wasn’t quite straight, magnets not quite centered), but turned out better than I hoped in most others.
First off, on advice from the guy who runs the blog 30mm Madness, I decided to go with K&J’s stepped magnets, and went with the 1/2″ x 1/4″ thick variety. I was worried they may not fit with enough space left over in the arm joints, so I initially considered a different way of mounting the arms than the one recommended on 30mm Madness.
My plan after measuring sizes was to put one magnet inside the ball socket on the arm and hold it in with epoxy. I’d probably need to drill out a bit of the socket for the magnet with a Forstner bit. I could then sheer off the corresponding ball plug and mount the magnet in there, with the added space of the wider ball plug providing me lots of resin in which to mount the magnet. This approach would have the added benefit of having very little work if/when I ever bought additional Warhound arms. Additionally, if the cut was ugly, it would be mostly hidden by the inner part of the weapon arm’s ball socket.
The alternative, was to do it the way 30mm Madness recommends: cut the arm section with ball plugs in half, epoxy one half into the main body’s shoulder joint, and the other half into the weapon arm, with magnets mounted in each half. I had measured the width of the arm section and knew it was bigger around than the magnets, but it wasn’t by a whole lot, so I was worried I’d screw it up or there wouldn’t be enough resin to support the magnet well. The downside here is more work for new arms, the upside is that it would be significantly easier to get the angles right on the cuts. If I screwed up the cut and it was ugly, it’d be out in the open for everyone to see.
In the end, I decided to do the second approach, because I was more confident in my ability to cut straight through the middle of the ball joints than I was in my ability to get the angles right if I did the first approach.


